Tag Archives: Heart

What kind of card do you get with White Daisy Cardstock and Thin Cuts?

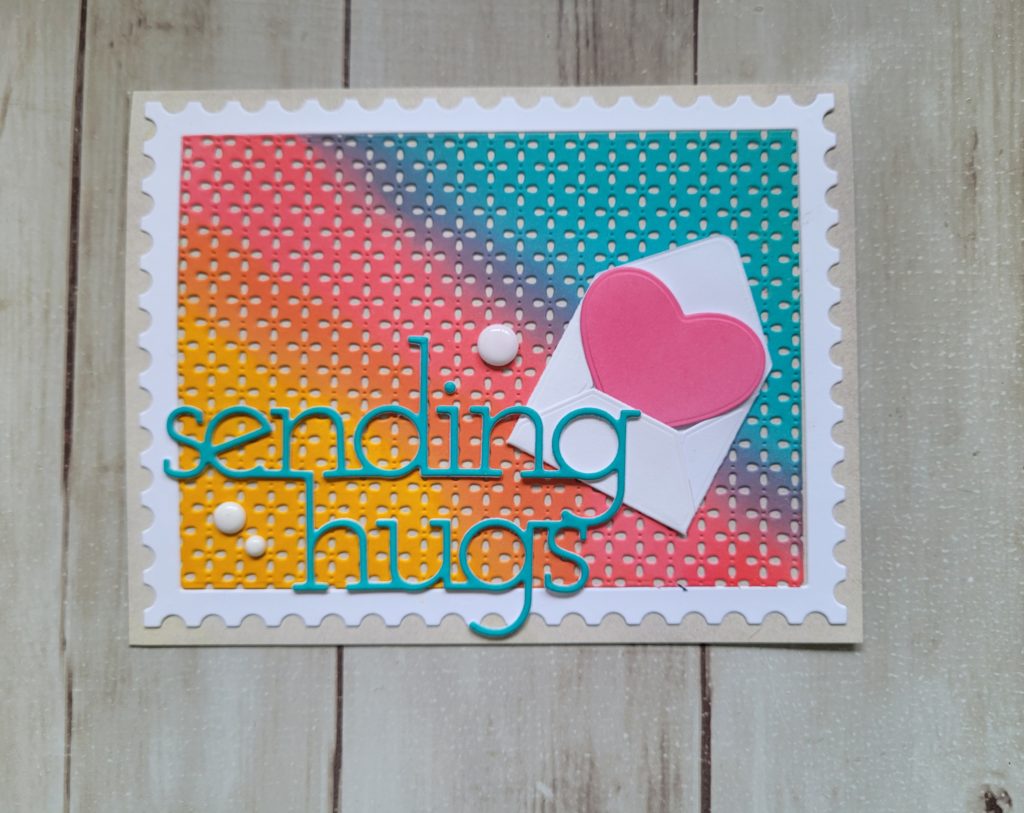
This week’s challenge over at H2H is all about the thin cuts!  Well, let me share with you a card that is ONLY white daisy cardstock.  (well, and three white dots for embellishment . . )  The card came together really rather easily!!

I used the postage frames thin cuts to get my frame.  Then I took the inside piece, and used the decorative texture background thin cut to get all those itty bitty dots and petals cut out of the center . . . AFTER I added some distress oxide to it.  I used Mustard Seed, PIcked Raspberry, and Peacock Feathers on that panel, making sure to overlap them to get some additional blended colors.  I put some Peacock Feathers onto some more white daisy cardstock, and then used the Sending Hugs thin cut.  I cut it two more times from white, to make it a bit thicker for my card.

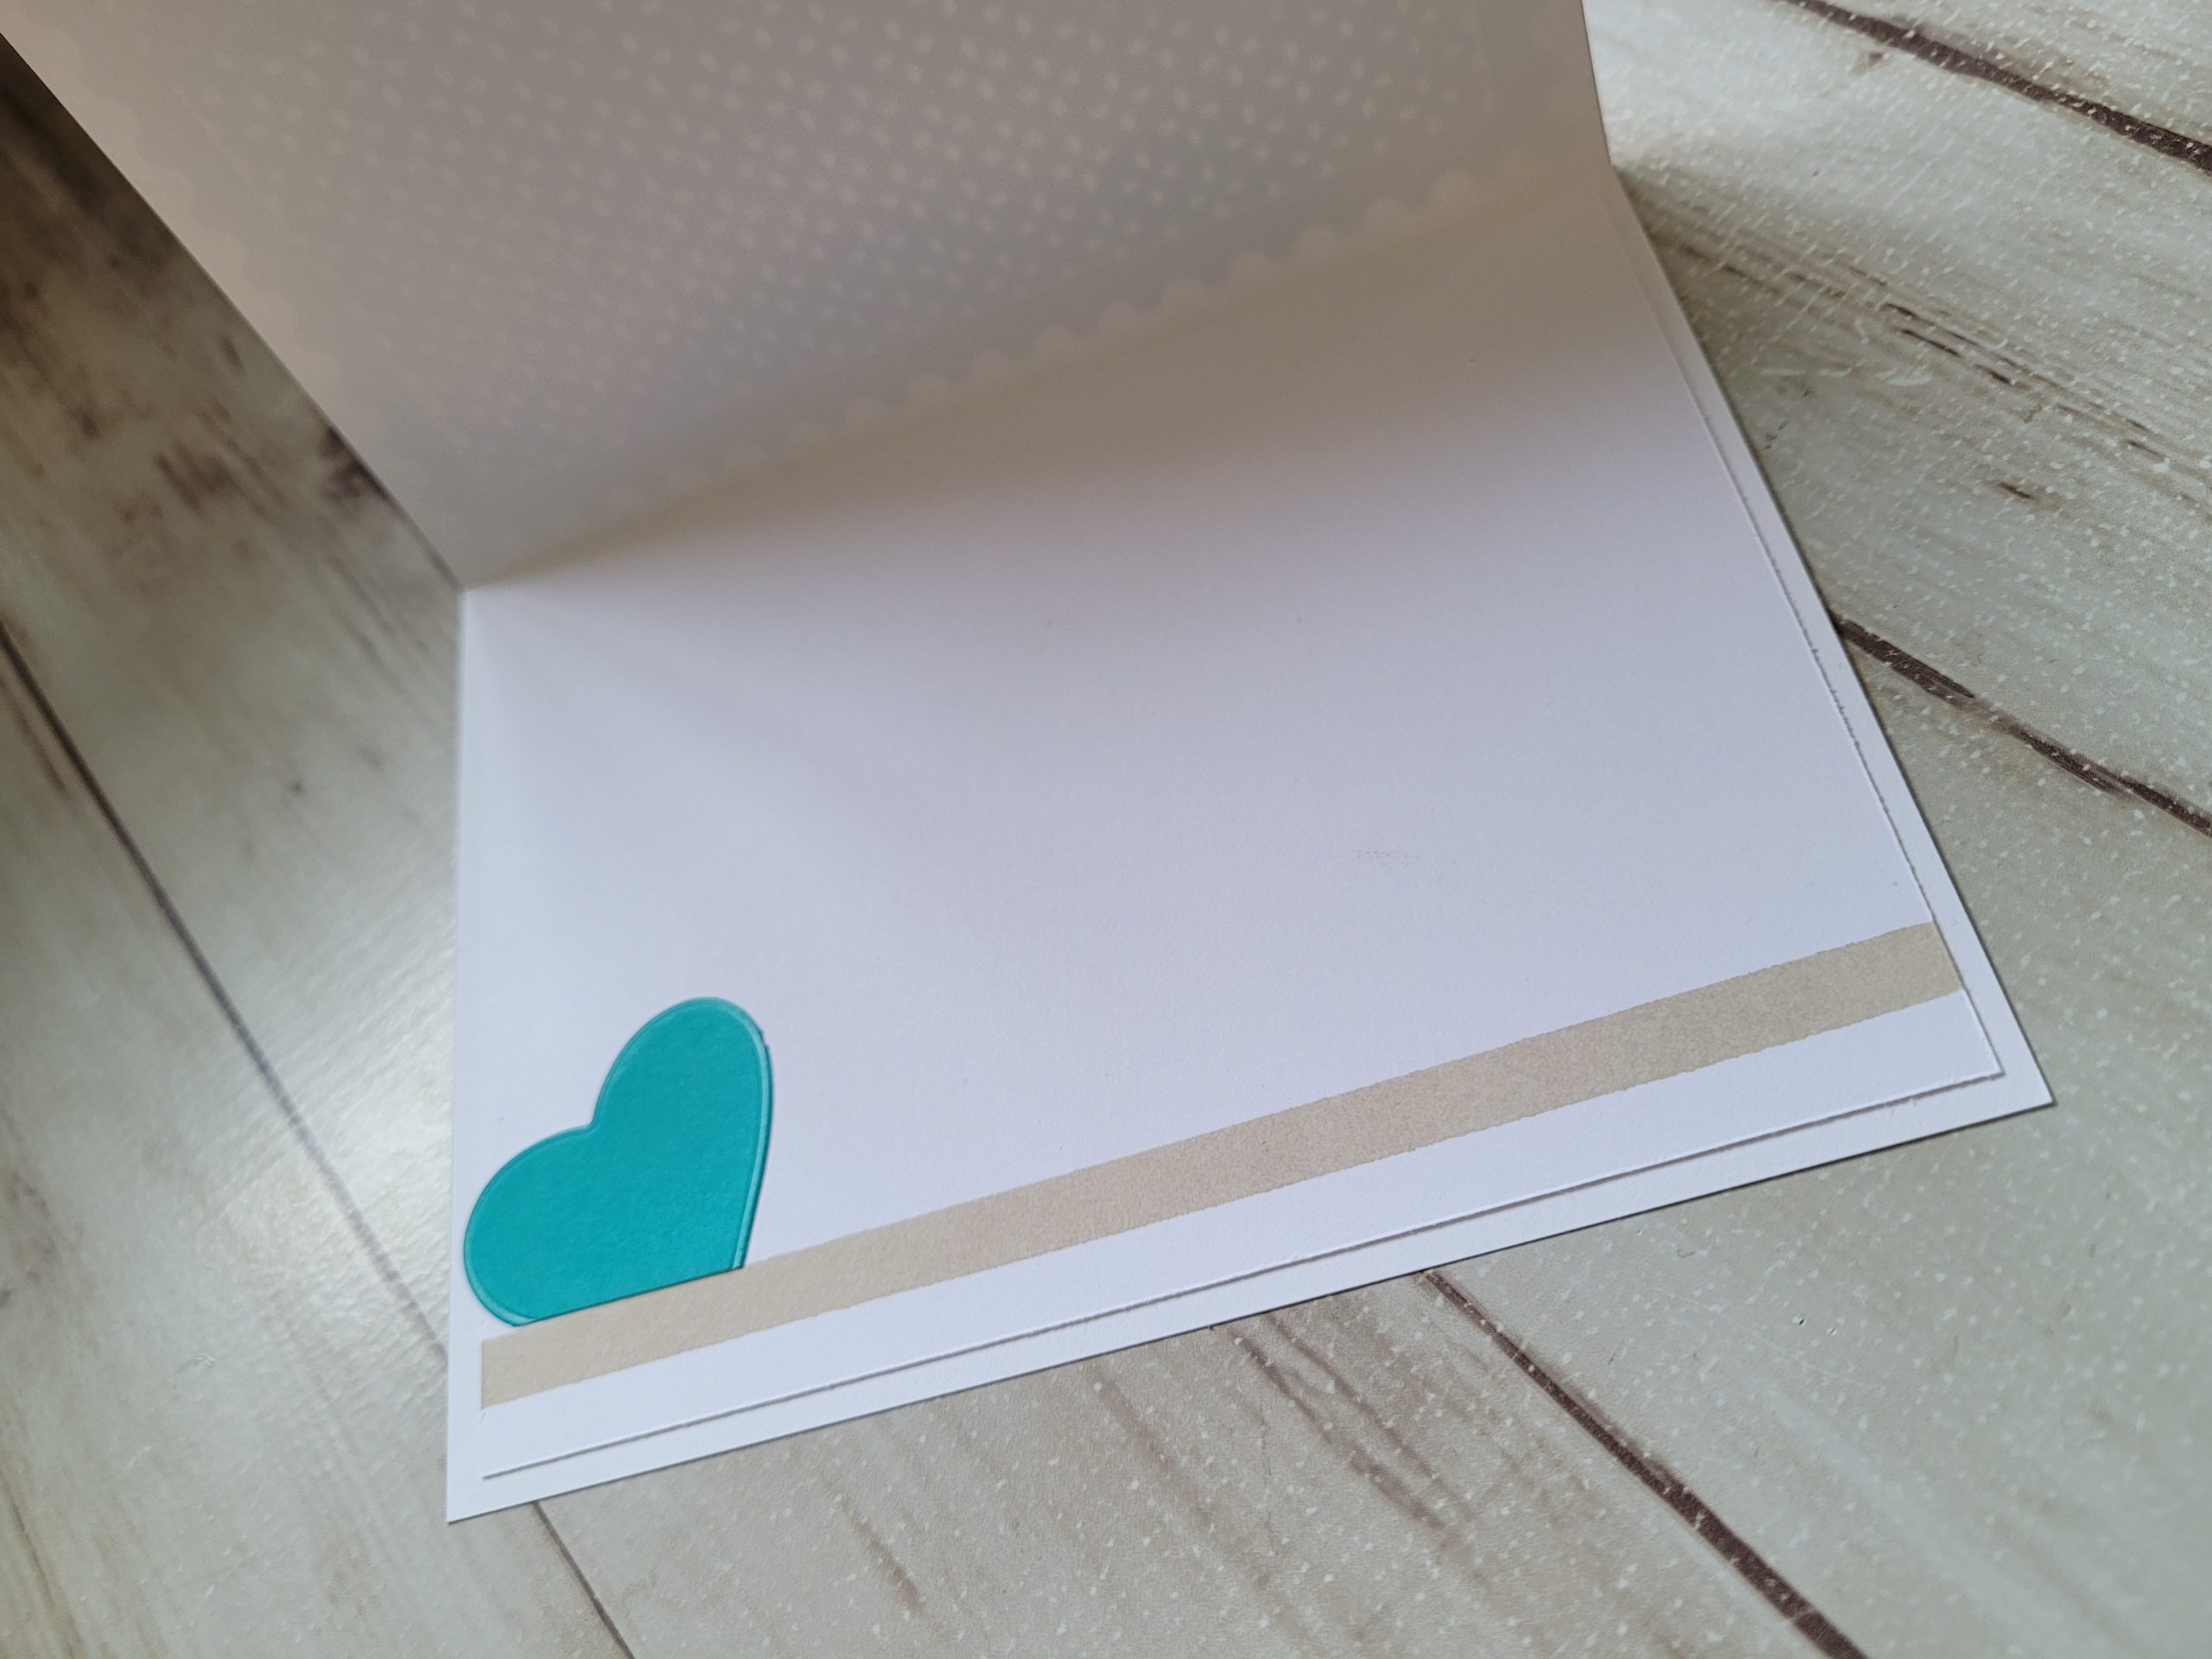
I colored a corner of more white daisy with the picked raspberry and used the heart from Teddy Bear Hugs to cut that out.  I had a bit of space on the peacock feathers, so cut out another heart for the inside of the card.  And, last, but not least in the thin cuts is the mini envelope thin cut.

I did use some pumice stone on the card base, and a line on the inside of the card to bring that color inside as well.  I like how it turned out!  And no scissors, no paper trimmer!  Just thin cuts and white daisy paper!

I hope that you like my little project today!  I think it turned out super cute!  

You should dig into your stash, show us what you can do with your thin cuts!


Until next time!

~Michelle

SWAK isn’t what you think it means!

We grew up thinking this was Sealed with a Kiss, right?  Well, you could technically do that with what I have for you today, but today I have a different meaning for you!


Today we are STAMPING with a KISS!  Have you heard about the Kiss Technique?  Well, it is where you ink up one stamp, stamp it onto another stamp that has a design, and then stamp the remaining ink onto your project.  Sounds pretty cool, right?  Well, let’s see what I made to show you!

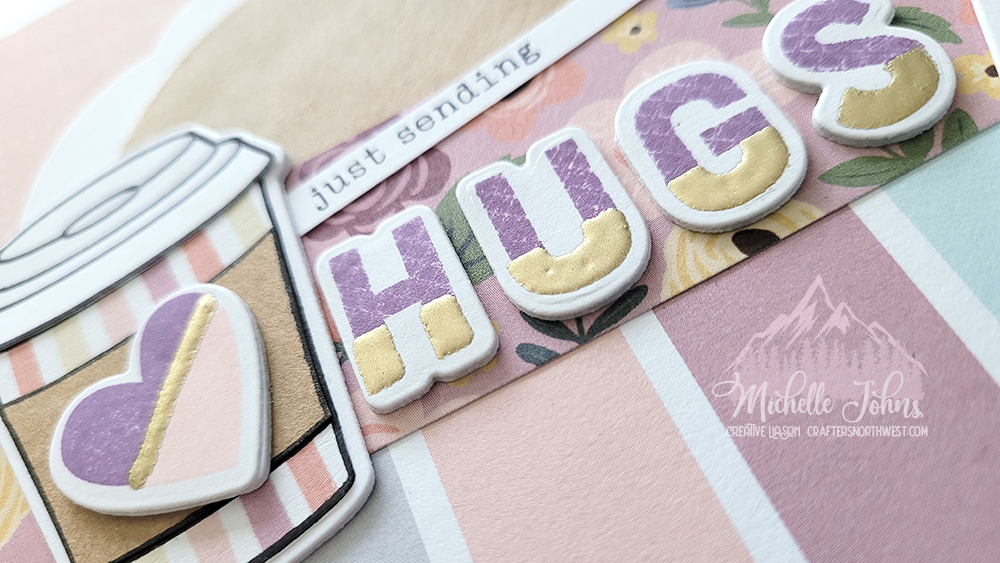
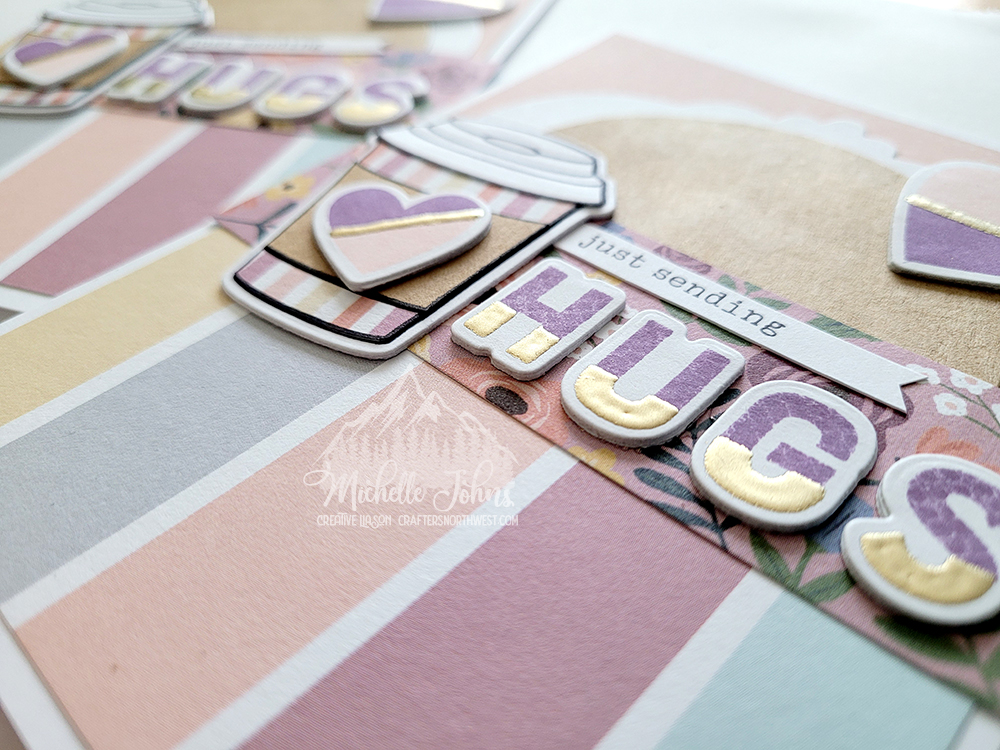
close view of sentiment

Isn’t this sentiment just so cute??  I bet you couldn’t guess which stamp I used to kiss the letters onto!  Would you believe it was an ice cream cone stamp?  Well, it was!  I just thought the texture was so fun, and would work so well with the PML card that I used for the top of the card!

The ice cream cone is in the same set as the coffee card, and we already know that I love me some coffee cards!  So, it just worked out so perfectly!

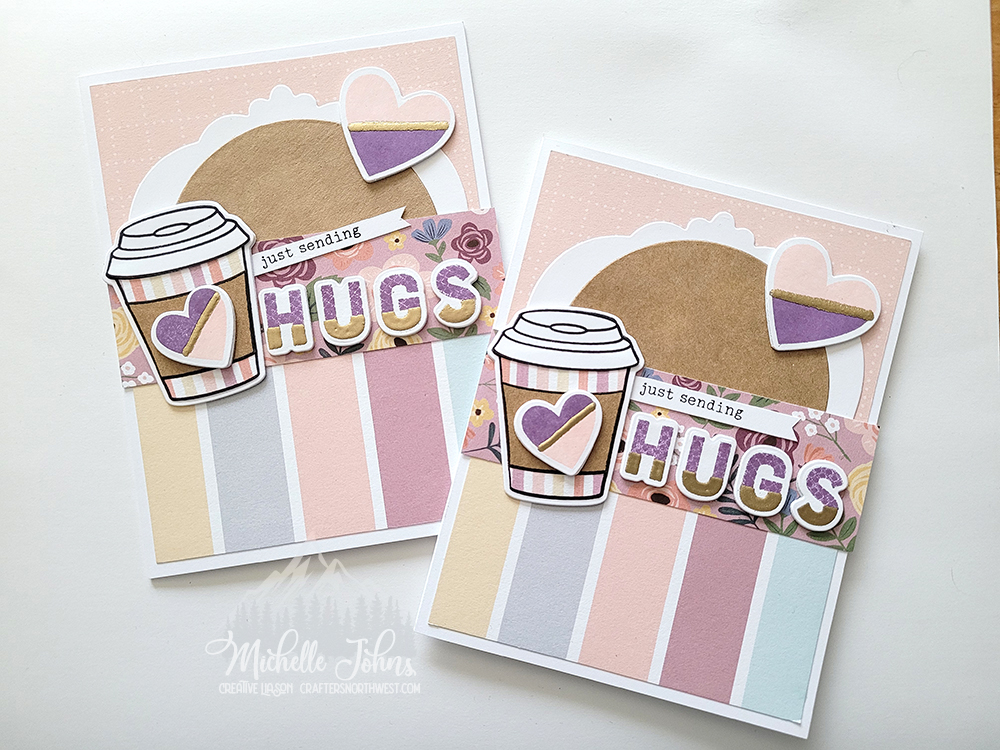
Full Front of Cards

I know my friend Lynn loves that there can be more uses for dies than what they are specifically designed for, so hopefully this card will make her smile!


The white frame on this card is the Oval Frame Thin Cut!  I paired it with the Circles Thin Cuts, and you wouldn’t know that it’s supposed to be an oval inside!

Semi Close view of sentiment

I just wanted to show off the gold embossing on the bottom of the letters!  It just makes them pop!  (well, that and a few layers of cardstock!)


I used no foam tape on this card, no coloring, I just wanted a nice ‘simple’ card!  (ok, maybe not ‘simple’ . . . )

I hope that you like the card, and leave a message below letting me know your thoughts!  If you try the Kiss technique, go and show off your project at the H2H blog!  The would LOVE to see your craftiness, too!

Blog Signature

CTMH Supplies Used:

SWAK challenge image

Mini Layout – choose your own adventure!

Do you remember the choose your own adventure books from when you were a kid? I always loved them. Sometimes I would cheat, but not always! LOL Well, today Danielle & I have a “choose your own adventure” type of layout, again! So, we chose this page as our inspo page. The thinking is, you could use any 4 blocks either together, or not, to create your own little mini layout page. You could do it as one single page or you could do it as one of the 3×4 page protector pages.

I chose to use the 3×4 page protector, and go from there. I don’t know if I told you my theory last week (I could go back and check, but who has time for that??), but that I had decided that I was going to try to create a mini album for the trip that Hubs and I went to NYC on. So, I am going to use all of the prompts, and I will have a finished book (and probably more than one) by the end of the year! I think I will get some journaling throughout the process from hubs too, so that it isn’t just “my” book. I will have to incorporate some pics from him, too! (yaay! more pages!) LOL

So, I started with stamping the city scape from the “Fly-by Greetings” stamp set in intense black ink. It just screams NYC to me! Then I colored it with the tri-tip markers. I didn’t get the banner ropes quite masked off, but I still am very happy with it! (excuse the cat hair! I didn’t notice until after I posted!)

Then I needed the pocket for the top right, that will hold a 2×2 photo on top, then I can put some journaling on the little tag. I did cut the page protector so that the tag will pop out easily! I used a little 1/8″ punch for the hole and a bit of mink twine.

The bottom right will be for a photo that is either 3×4, or maybe slightly smaller, so that I can have the white border.

Then, the bottom left is a little pocket card. You can see the blue/white circles (it’s the same paper from the last page!) sticks out over the photo spot. It’s tucked in a vellum pocket! I know you can’t tell very well just yet, but when the journaling/photos are on there, you will be able to see the difference! The heart stamp is from the Love These People stamp set! I thought it fit perfectly!

I am so happy with how this turned out! (Even if I did have to remake the vellum pocket and tag, because I didn’t pay attention to how my page protector was laid out…) I hope you like it too, and that you are a bit inspired by it! Make sure to hop over to Danielle’s blog to see what she came up with! (A little birdie told me she used the same stamp set that I did!)

CTMH Items used:
White Daisy Cardstock
Mix In paper packet
Vellum
Fly-by Greetings Stamp Set
Love These People Stamp Set
Intense Black Ink
Spectrum Noir Tri-Tip Markers
Raspberry Ink
Stitched Rectangle Thin Cuts
Mink Twine
Foam Tape
Non stick Micro-tip Scissors
Paper Trimmer

Candy Apple Color Challenge at H2H

This week’s challenge at Heart 2 Heart is all about Candy Apple Red! I don’t know about you, but I LOVE how red this color is! Valentine hearts, 1950’s Chevy Truck, and Candied Apples all come in this fantastic red color! This week’s challenge is to show you different ways to use it! You have a whole month to play along with us, so I do hope that you join us!

Today I drew inspiration from the Make it from your Heart volume 1. These books give you sketches with the cutting sizes, they also give you a finished piece of artwork to help you with ideas. Today I went from the idea, more than the actual sketch! We are using pattern 20 from the book today, so go and look it up! If you don’t have these books, I promise you, they will help you so much in your crafting!

Today my colors are Candy Apple (of course), White Daisy, and Black. I used a piece of Black cardstock cut at 4 1/4 x 11, scored at 5 1/2 for my card base. I then used two pieces of white daisy cardstock, both cut to 4 x 5 1/4. One for the outside and one for the inside, as it is easier to write on white cardstock than it is to write on black (well, it is if you want it to be able to seen!)

I random stamped the large heart from Stacy Julien’s Story by Stacy, Colorful Texture stamp set in candy apple ink on one piece of the white daisy, and just one single heart in the bottom right corner of the second piece. While I had the stamp out, I random stamped the back flap of the envelope and put one single heart on the bottom left of the front of the envelope.

Now I did some die cutting! I used the largest heart from the Basic Shapes – Hearts thin cuts on some candy apple cardstock, the 2nd largest stitched circle from the Stitched Circles thin cuts on some white daisy cardstock, and the torn notebook edge from the decorative borders thin cuts in black cardstock.

I grabbed the words from the Colorful Texture set to create the sentiment on the card, also stamped in Candy Apple Red ink. I created the colon using the round end of my embossing tool. I used the i from ‘this’ in the stamp set, upside down, for the exclamation point after the word ‘you’. I used the journaling pen to create a stitched line on the outsides of the Candy Apple Heart.

Next, I cut off about 9 inches of the Candy Apple Striped ribbon, and used some glue dots to create the wave in the piece. I then used a few more glue dots to secure the black piece cut from the torn edge thin cut to the back of the ribbon.

Now it is time to put the whole thing together! I adhered both white daisy layers to the front and inside of the card using liquid glass. Then I glued the ribbon/paper cluster to the card just below 1/3 of the way from the bottom of the card. I used foam tape to pop up the heart from the card, and again to pop up the white circle from the heart. To finish off the card, I added some black enamel dots!

I really like how the card turned out! If you compare it to the artwork in the book, you can see that it very closely resembles it! (the stamps and such used in the book are now retired, so I used currently available items.

I hope that you like the card that I came up with! I would love to know what you think! Please leave a comment below and let me know!

Thanks so much for stopping by!

~ Michelle