


Welcome to Spring! It’s May, and the flowers are popping up all over the place! Along with the flowers is another challenge over at the H2H blog! You should definitely check out the challenges and play along! They are so fun!
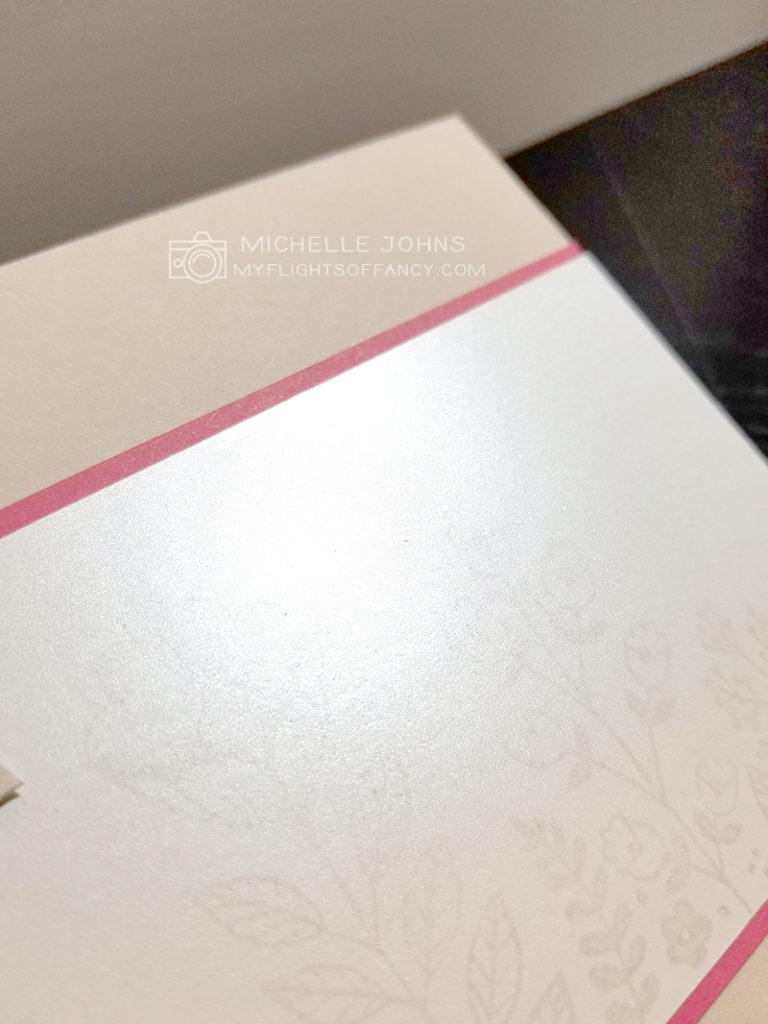
Today I have a super fun card, that is going out to a friend that I haven’t seen in a bit. I hadn’t gotten a chance to play with the white pearl paper yet, so I did! It turned out so fun!! (I wasn’t sure if my technique was going to work, or not! I’m so glad it did!)

So, I grabbed my scraps bag and picked out a few colors that I thought would work well together. I wanted one to be a very neutral color and one to be a bright pop of something. I think I succeeded there, what do you think?
I am using Almond and Raspberry cardstocks along with the white pearl paper. I stamped the image from the May SOTM in Mink ink, directly on the pearl paper. Then I grabbed a piece of scrap printer paper, and ‘dabbed’ it over the pearl paper, to remove any excess ink. Since this paper does have a shine, it wasn’t going to take as much ink as normal cardstock would. Then I took my heat tool to it, just to be safe.
Then I just lined everything up! I did just use scraps of the Raspberry paper under the pearl, and the Almond is just a couple of strips as well!
I popped the sentiment up on some thin foam tape, after stamping in Raspberry ink, of course! I wrapped a smidge of the mink twine around it, and viola!

And! Those adorable dots! I WISH we had them in raspberry!! But, believe it or not, those started as white! I used the dark red blend and the bright pink blend markers to create the raspberry color! It’s hard to photograph with the sheen of the pearl paper, but they match almost perfectly! I was so pleased!
Join me, Monday night as I make another card just like this! 5pm Pacific over on my Facebook page!
Thanks so much for checking out my little card today! I do hope you stop over to the H2H challenge blog to see what the other fantastic ladies have for you! (They are all super cute, btw!) Then, maybe you can play along as well!
~ Michelle
Welcome to another fun blog hop! Today we are focusing on the PML cards! So, right now, there is a special on these fun cards, they make scrapbooking super easy, but they can also be used for cards, like I am showing you today! So, if you got here from Darlys’ blog, perfect! If you started here, also perfect! The hop is a circle, so you should end up back where you started!
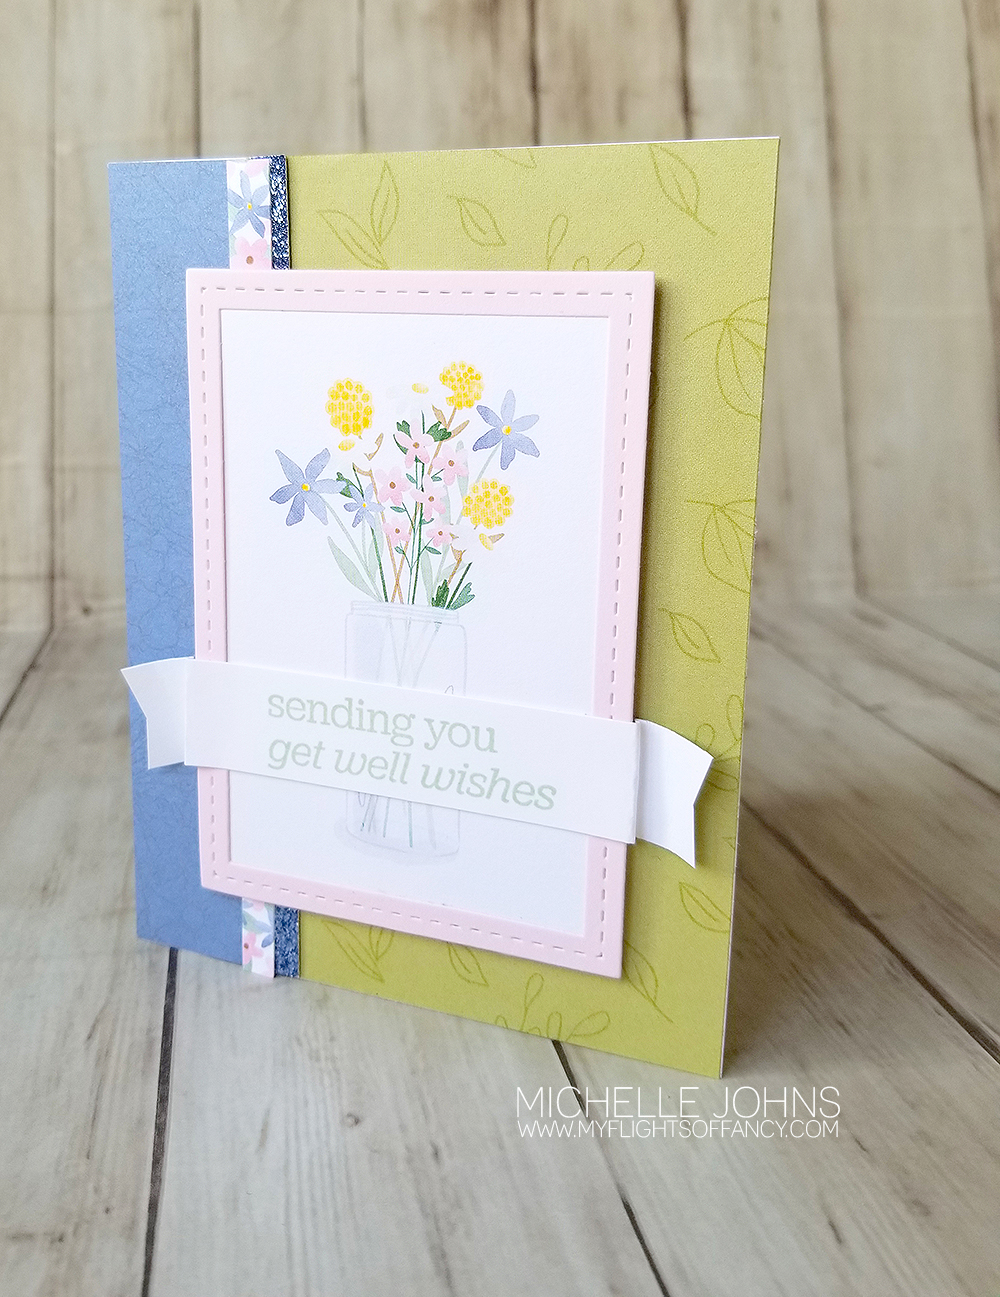
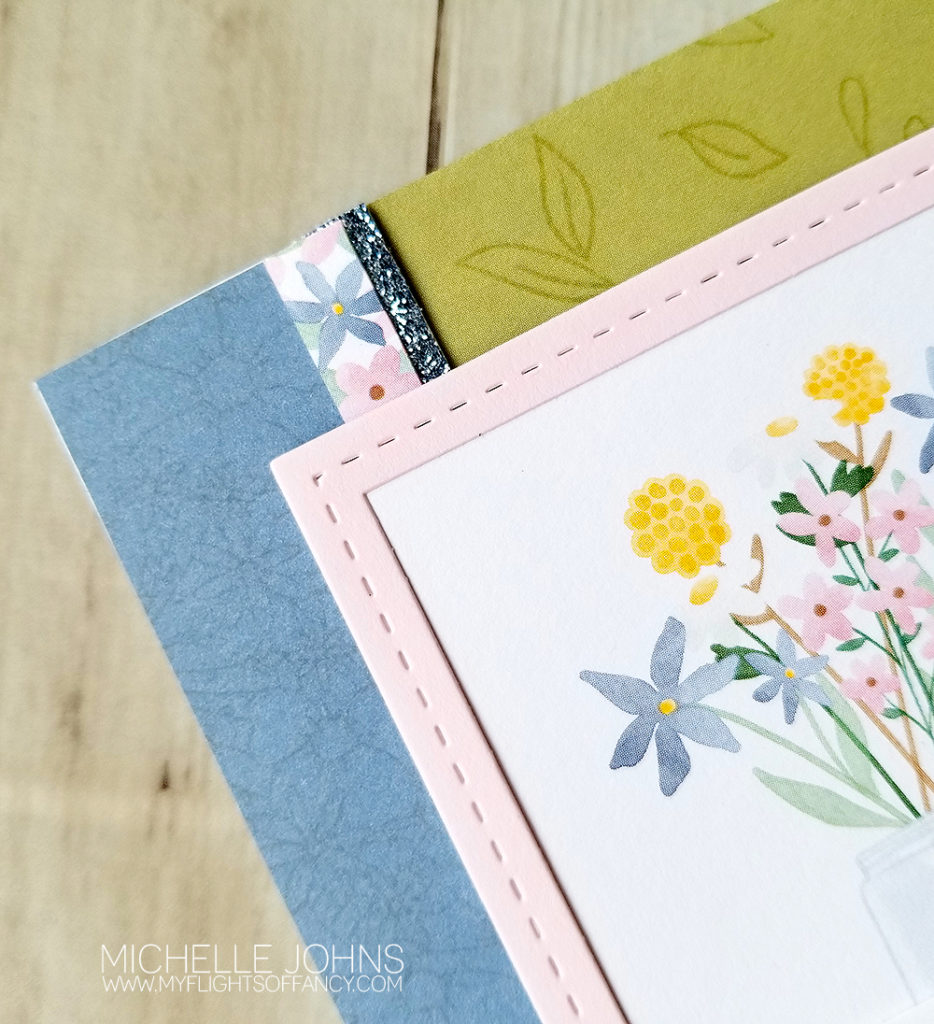
My card today uses a few different things! I have the Lovely PML cards (well, one of them), the current Mix In paper packet, the Lovely paper packet, the rectangle dies, and the March Stamp of the month. I used one of the patterns from the MIFYH V4 book (though, I adjusted it a bit to fit the 3×4 card).

This card went together really very quickly! The Blue Belle cardstock was a bit too plain for my liking, so I stamped the butterfly wings from the March SOTM in mink ink to give it just the tiniest bit of texture.
I love how perfectly this whole thing came together! I would love to know what you think! After you leave a comment (pretty please!), hop on over to Lauren’s blog to see what she has for you!
Thanks so much for stopping by!

I do love to work with color challenges! And this week we have a new one! The challenge is GOLD! That’s the only ‘given’. You can mix and match with any other colors that you would like! I don’t know about you, but this gives me a perfectly good reason to use the Gold Foil Patterns Paper Packet!
So, I will admit, that I didn’t know what exactly I was going to do at first. I wanted to use the gold foil paper packet and the new Daisy Meadows paper packet. I didn’t know which of the papers from either packet, so I went and played on Pinterest. I found the start of a great idea, and went with it!

How beautiful is that paper?? So, when you get the gold foil patterns paper packet, it is white paper with gold foil. No other colors. So, I grabbed the water color pencils and added some in! I didn’t want to use the markers, because those will also color the foil, and if I’m being honest, I didn’t want to have to be that careful! LOL!!

The sentiment is stamped in peacock ink to match the background paper. I added two of the tiny pink dots from the Daisy Meadows dots to the right side to create the visual triangle. This card went together really quickly, even with the coloring! Join me at 5pm as I make this card over on my FB page!
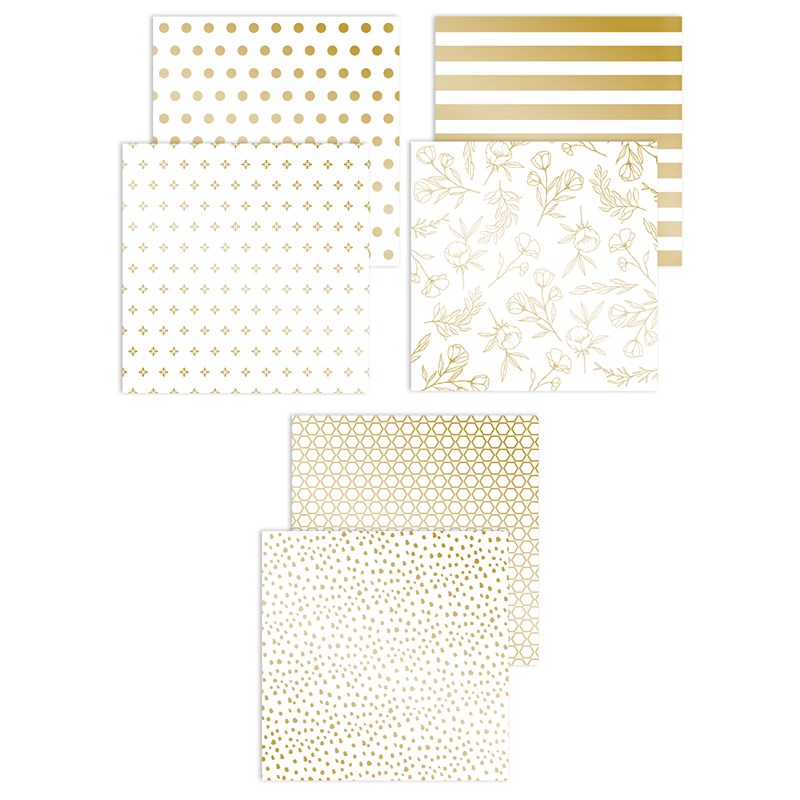
These are the patterns of the paper packet, aren’t they fun?
I encourage you to play along with both H2H in their bi-monthly challenges and also with me in my 52 weeks of Cards challenge!
I would love to hear what you think of this card! Which of the gold foil patterns is YOUR favorite?
Welcome, welcome, welcome! This month’s Stamp of the month is such a pretty one! One that you can do so many things with! Color? Yup! Not color? Yup! With sentiments that cover a whole gambit of occasions! Today you could have arrived from Katy’s blog, or you could have started here. Either way, you should end up back where you started!
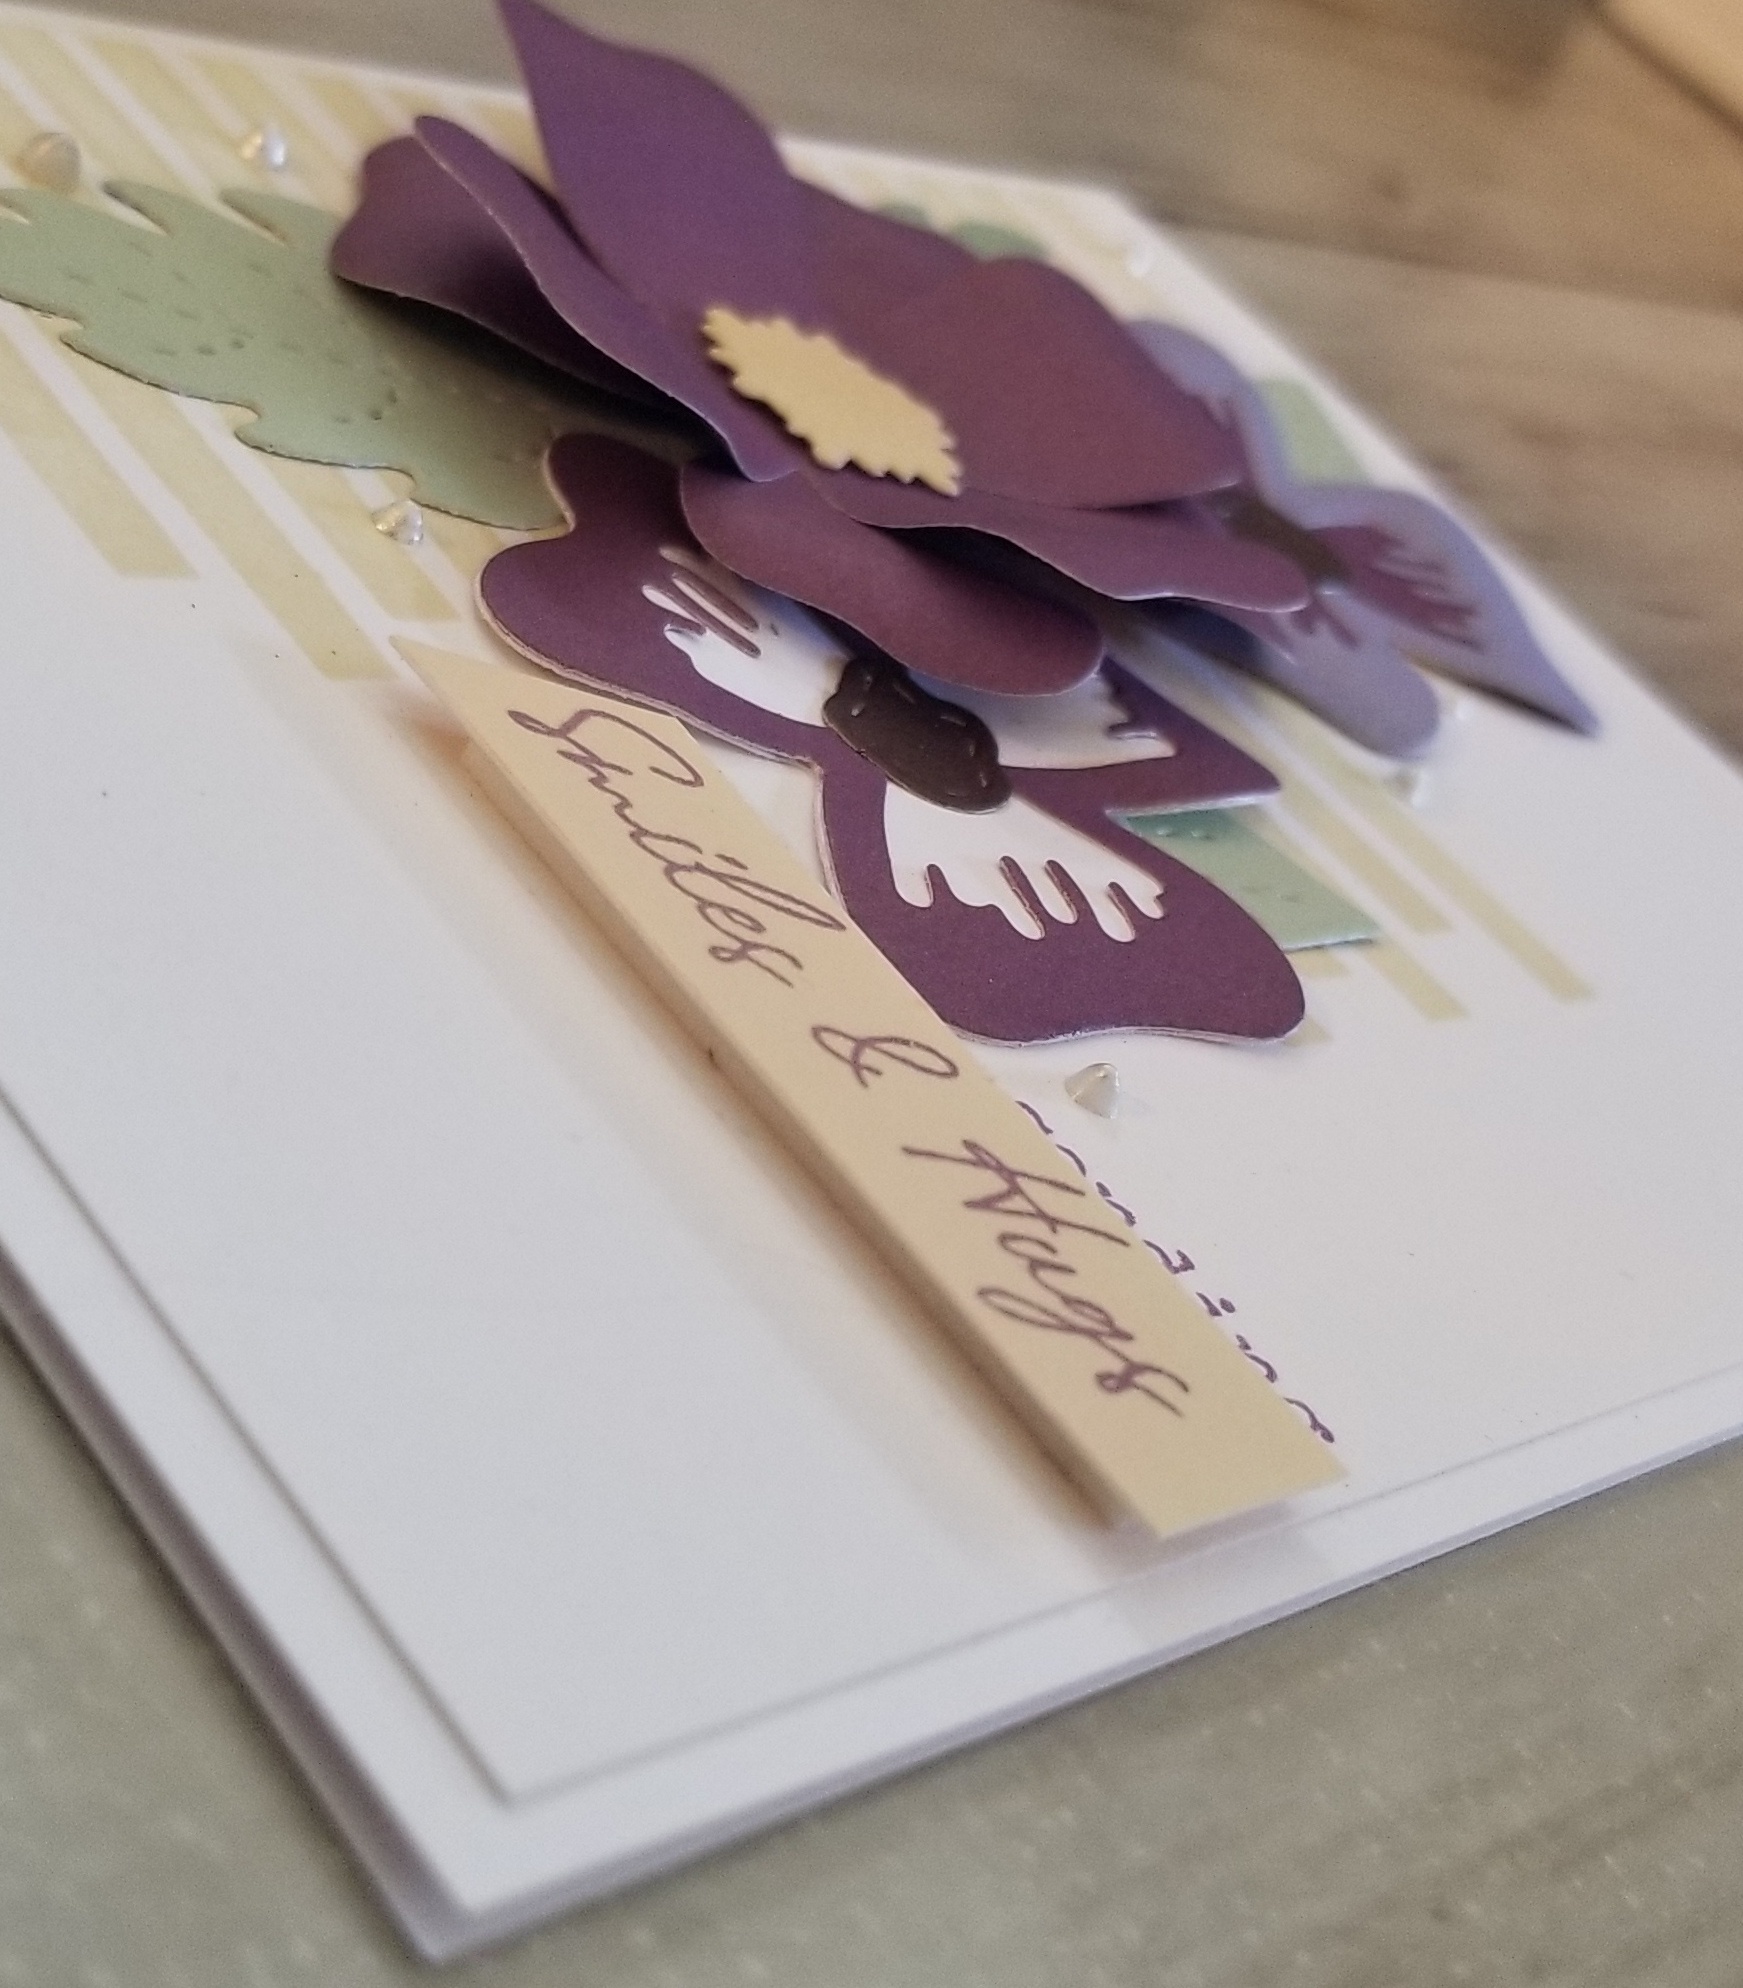
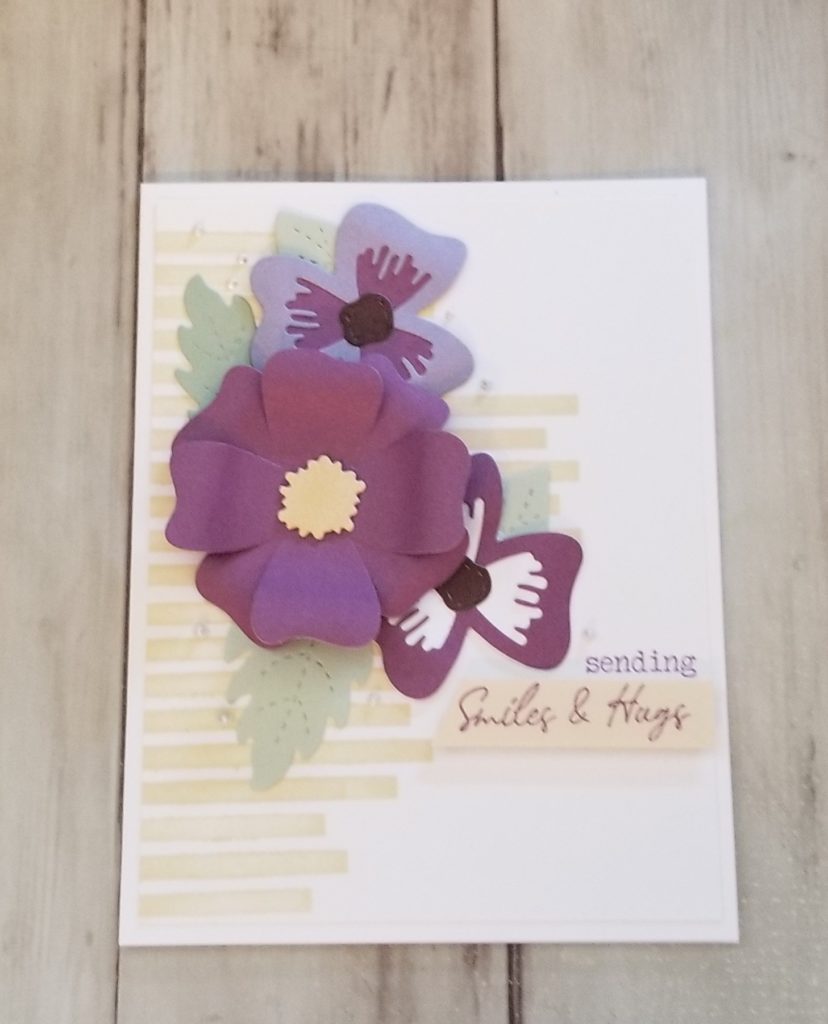
I honestly didn’t have any idea where to start, originally, with this set. I didn’t want to cut it out (it has no thin cuts), but didn’t want to leave it blank, either. I wanted to color it, but have been using my markers a lot recently, so decided to go with watercoloring, but decided to use the inks instead of the watercolor pencils that we carry.

I wanted to go with the colors of the In This Together paper packet. The purple stripes is actually a zip strip from one of those papers. I really love how this card turned out! The little brush strokes outside of the frame, the coloring (even though it isn’t perfect), the colors, and the whole thing! I hope you like it as well!

I triple layered the frame, to give it some substance on the card front, and I think that helps it pop all that much more!
Thanks again for stopping by! Hopefully you will leave a little note below before you hop over to Krista’s blog! Enjoy the rest of the blog hop!
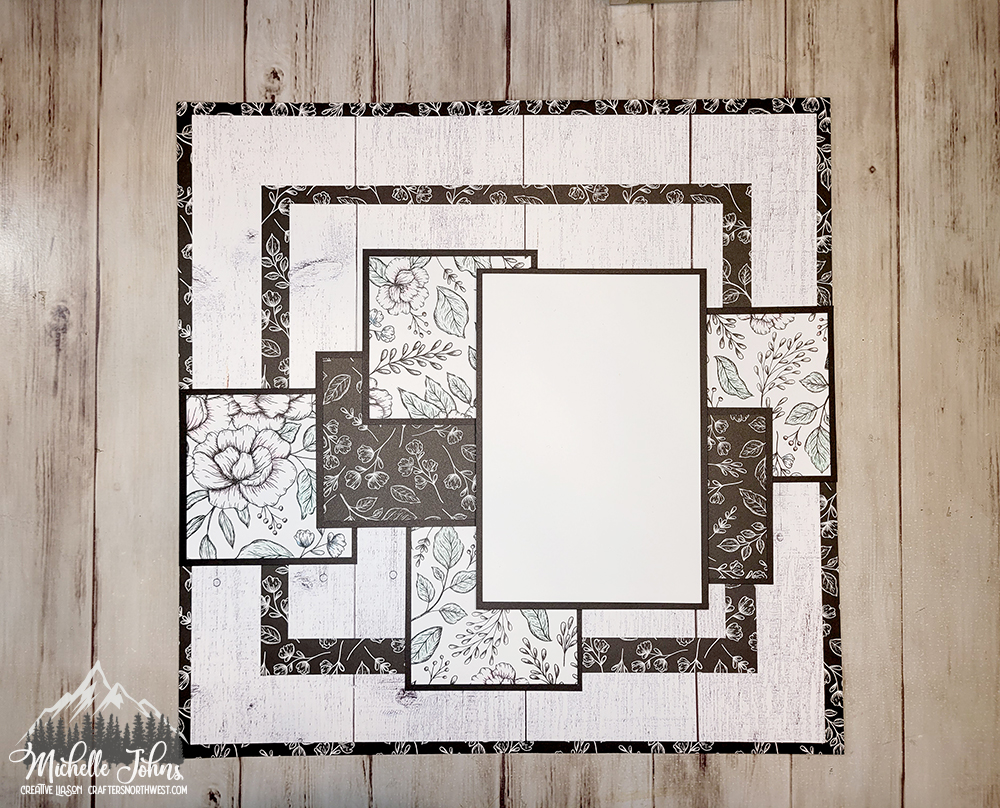
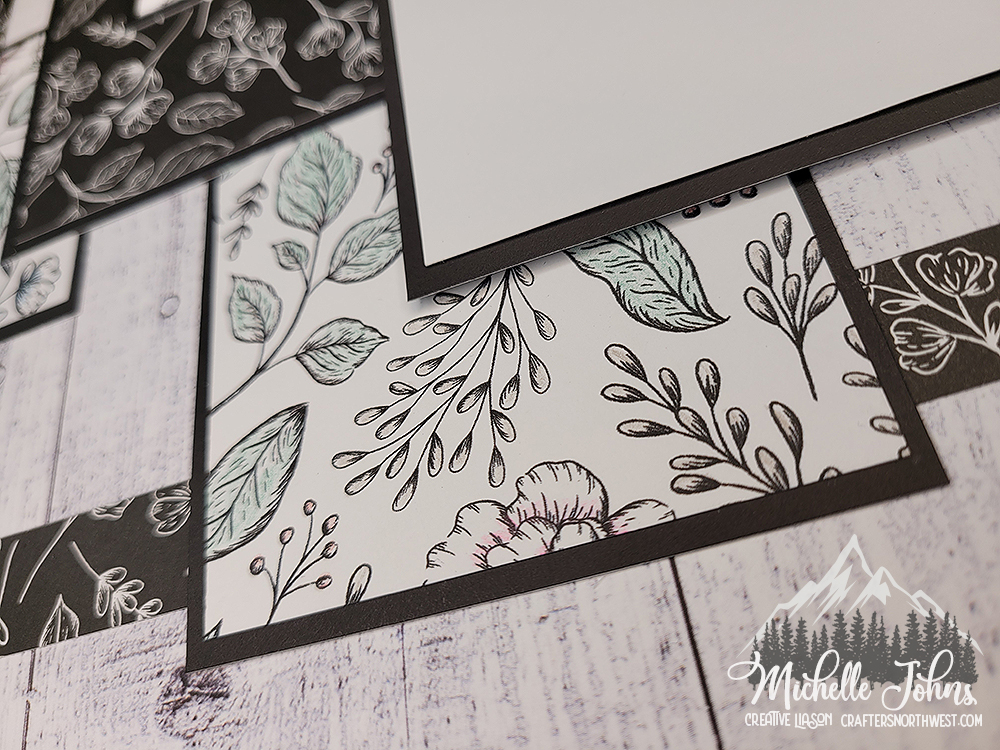
How about a card sketch from CTMH to start the week and month off with? This is going to be a super fun one! So, CTMH has put out this sketch on their blog, you may have seen it already. So, you have the artwork that they have created with it. We here at H2H decided to have a play with it as well! Any of the currently available papers are fair game for us when we are working with this. I cannot wait to see all the different takes on the sketch with the different papers! I LOVE to see how everyone has their own view on the same thing!

I stuck with the sketch fairly closely. I did add a background image that was smaller than the card (giving it a frame) and I shortened the little image on the right, because of the scrap that I had available to me)

I used Mink ink for the butterfly, and some gold embossing for the sentiment and the little mini flower on the right. I think it turned out super cute!
Thanks so much for stopping by! I hope that you join us on the H2H challenge blog this week! This sketch makes some fantastic cards!
CTMH Items Used:


1 – Cherished Blossoms Stamp + Thin Cuts (CC122011)
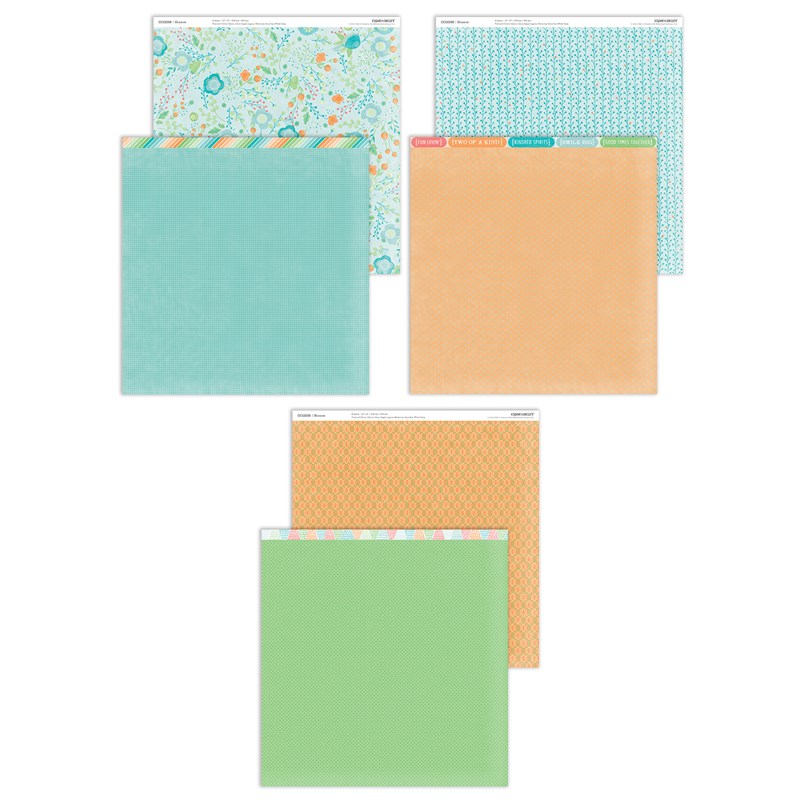
1 – Blossom Paper Packet + Sticker Sheet (CC12207)
1 – Blossom Coordinating Cardstock (CC12209)

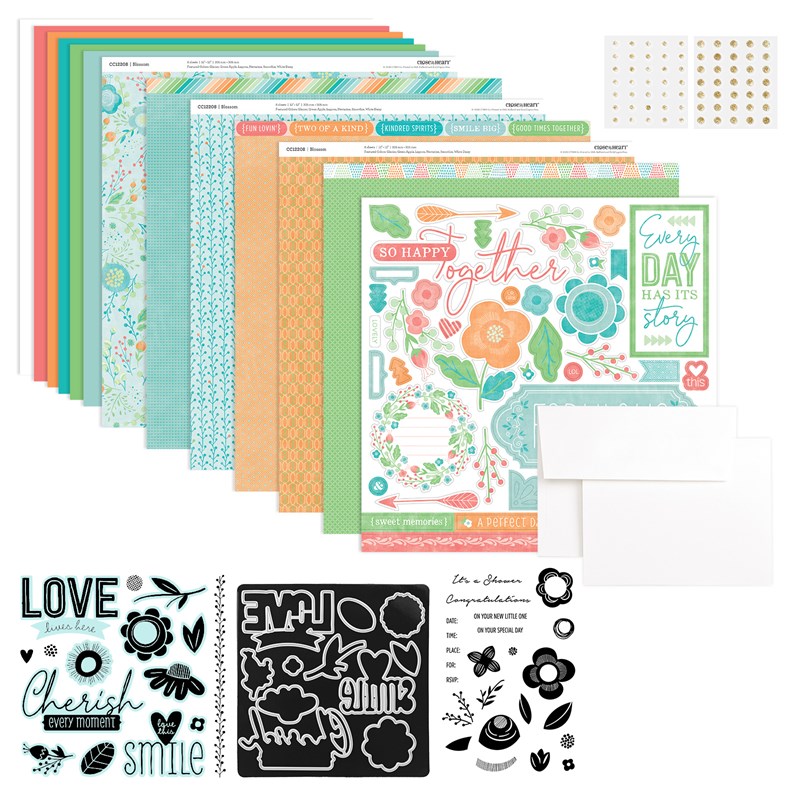
Kit contents:
1 – Cherished Blossoms Stamp + Thin Cuts (CC122011)
1 – My Acrylix® Shower Flowers Stamp Set (C1612)
1 – Blossom Paper Packet + Sticker Sheet (CC12207)
1 – Blossom Coordinating Cardstock (CC12209)
2 – White Daisy cardstock sheets
1 – Gold Glitter Gems (Z3312)
4 – white card bases & envelopes
photo placeholders
If you want to make the pages and cards shown on the site (Click here for the downloadable instructions) you will also need the following:
Additional supplies needed:
Green Apple Exclusive Inks™ Stamp Pad (Z6513)
Lagoon Exclusive Inks™ Stamp Pad (Z2895)
Smoothie Exclusive Inks™ Stamp Pad (Z2896)
Lagoon Shimmer Brush (Z3607)
Black Journaling Pen (.03) (Z3516)
Thin 3-D Foam Tape (Z2060)
These papers are so fun! I know that you will love using them! I can’t wait to show you what I come up with for them!