Tag Archives: Chocolate

A Lovely Box of Chocolate!

Todays Naught a Card Nor a Layout project is a little-ish box for chocolate!  (or some other goody!)  I found this idea some time back, and decided to make a bit of a change.  (If this is the second time you are seeing this, I apologize!  But this time, it has the photos!)
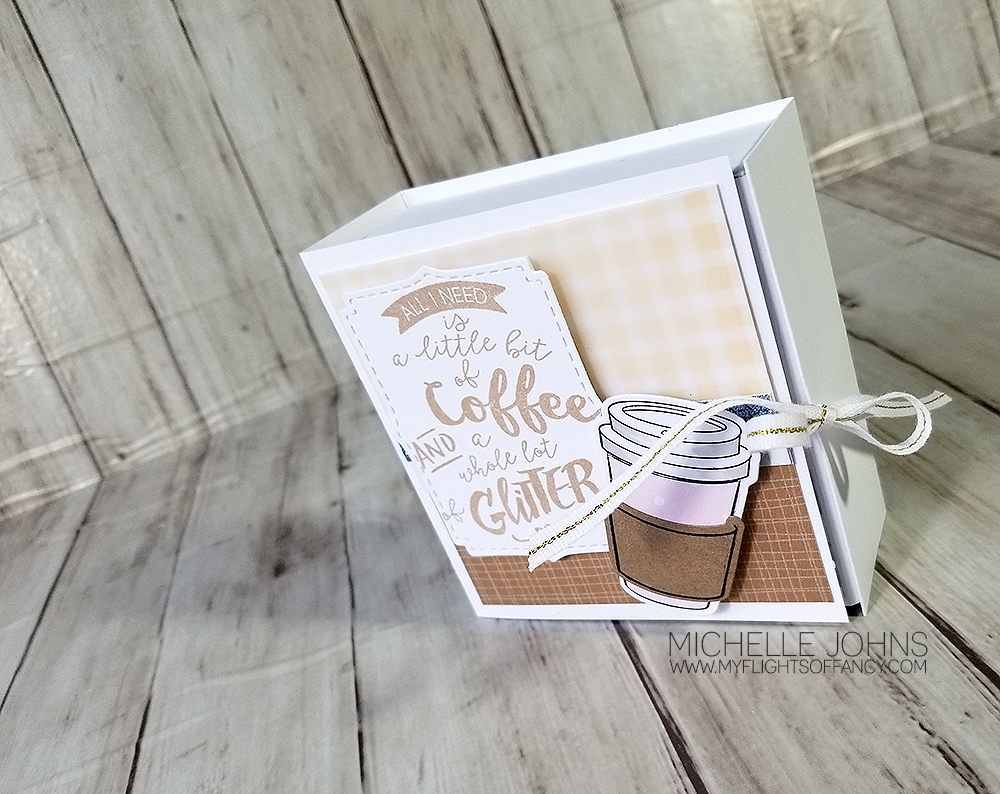
I love the idea of it opening like a book, so that’s how I started!  My cardstock isn’t as long as her’s is, apparently, so I had to make a few changes.  The ribbon I used is no longer available, but it worked so well with this project!
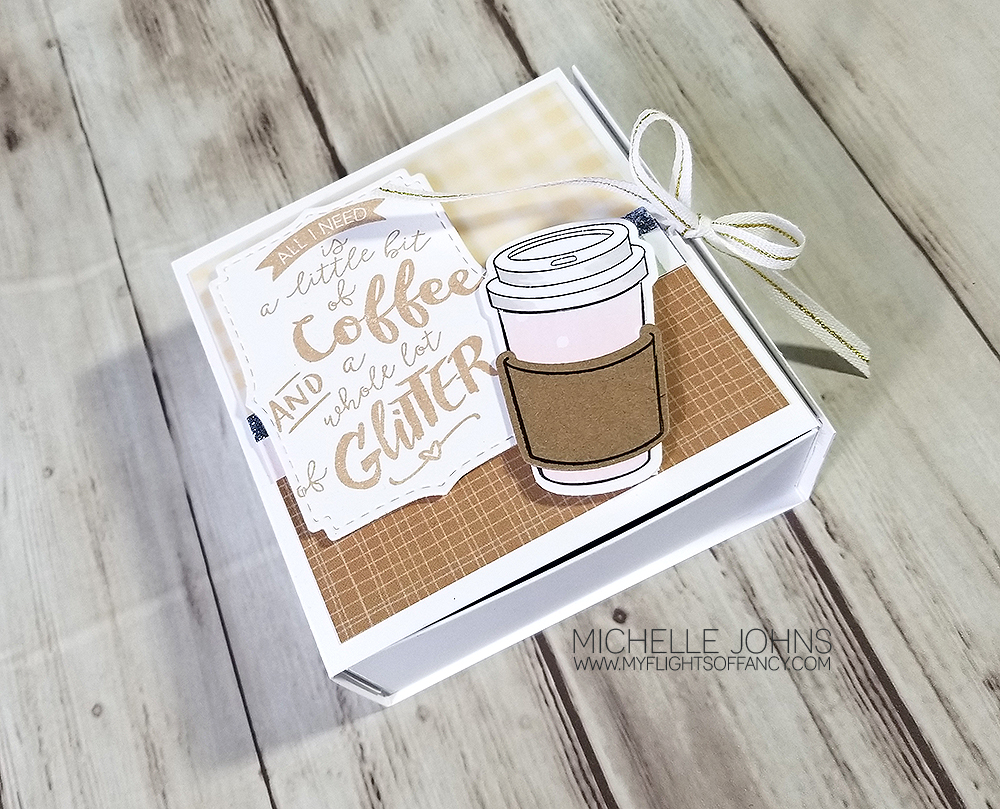
Once you open the ‘book’, you have a spot to the left that you can add a note.  Then there is a box to open that you can fill with chocolate or candies or whatever you little heart desires!
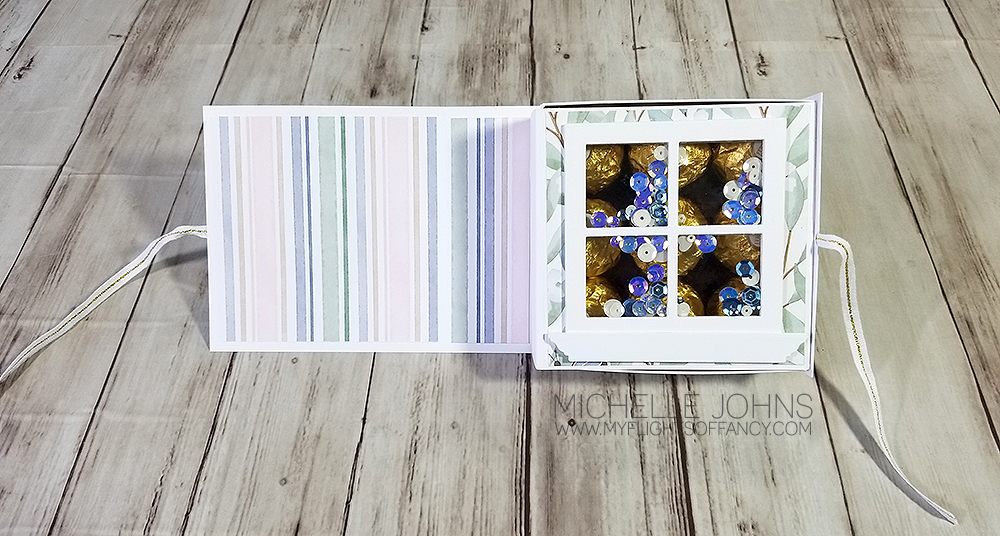
I had so much fun making this little window scene!!  Instead of foam, I did multiple cuts of the window die cut, and glued them together.  

I do love my little coffee set, so I went with that for the front.  Maybe I will include some yummy coffee packs inside!

I hope you love my little project!!  It makes me smile every time I look at it!  (I might have to keep it around for a little bit, just because it makes me so happy!)

If you didn’t already know, I make custom orders for people.  Items like these, cards, frames, and so many more things!  If you have something that you are wanting, please reach out!  I would love to help you!

Thank you so much for supporting me and my small business!  I truly appreciate it!


CTMH Items Used:

Mix in a little Ferrero Rocher

Happy Thursday!  Are you ready for the day?  Today I have this little box, that I have had pinned for a while, and thought this would be the perfect little gift to make to show you for this fun Naught a Card nor Layout Thursday!

She has some great instructions and even a video as well.  (I did have to make a few corrections/decisions along the way).  

Wouldn’t it be so much more fun to give this little box of chocolate than just a package of candy?

I actually know who I am going to be giving this to!  A friend has had a rough few weeks, and just sold her house this last weekend!  So, I bet she will love this!  (I hope she likes Ferrero Rocher!)

If you make this little box, I would LOVE to see!  Make sure to join my FB group, and share your creations with other creatives as well!


CTMH Items Used:


Shop your Stash Saturday

Happy Weekend! I hope yours has started well!

We are starting another new weekly feature here on the blog, called Shop your Stash Saturdays! It’s going to be all about using what you have! While I love shopping for more crafty stuff as much as the next person, sometimes I really like (and should) use the stuff I have. I mean, I DID get it for a reason, right??

So, different weeks will focus on different parts!

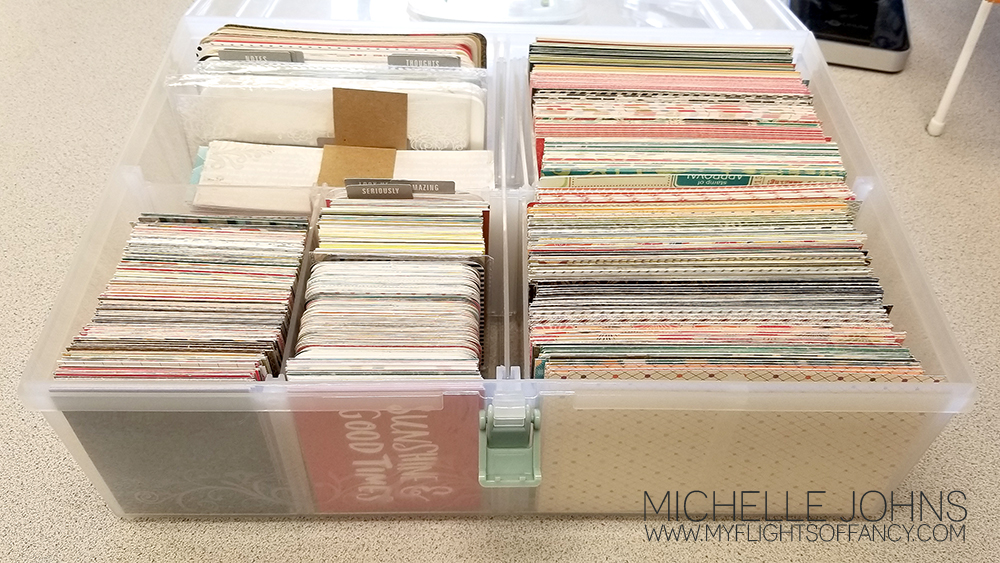
So, first up, how do you store your scraps?

Do you have them in a drawer?

Do you have only a few left, and in a bag?

Do you have a LOT left, including 12×12 pieces, so you keep them all together?

Have you cut them into small, usable pieces?

As you can see, I seem to have almost all of the above!!

So, I need to figure out what I like best, and start sorting! I do like the container. Those are 4×6, and 3×4 pieces (mostly) with a small pile that is 2×6. This is one of the old medium containers that we used to sell. However you could do this in the new ones as well!

I had some sheets that were just one or two left in a paper packet, so I cut them down to 4×6. That means that they are large enough to use on a card, I can use them in spots on a layout, if I wanted, and I could use them for cricut cuts very easily!

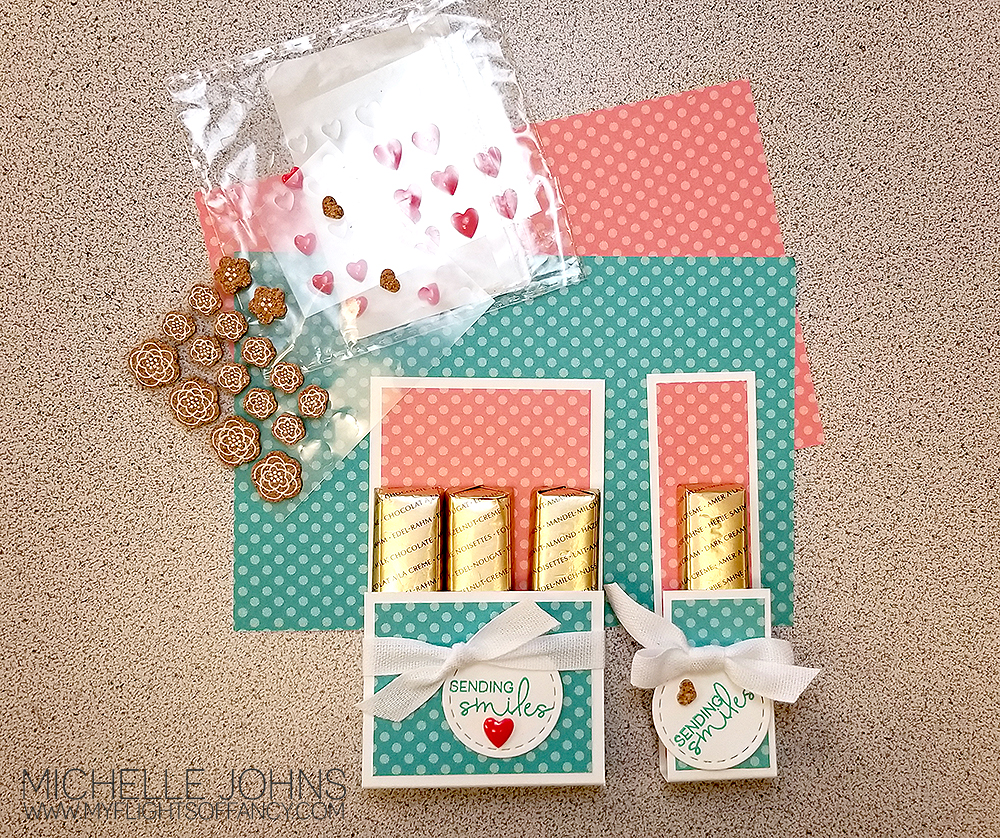
So, that being said, I wanted to show you what I ended up making, with just a few scraps!

I used some white daisy cardstock to make the base, and even had some extra, hence the smaller one! I will have the dimensions below, but know that I was able to get the decorations for these and many more from just a few pieces of these 4×6 scraps!

I made sure to check my scrap embellishments too! We don’t want to neglect those either!

I really like what I ended up with here, and I hope that you do as well! They are super easy to make, and I’m positive that you have some scraps that you could use up, too!

Who would you make up some of these fun little treats for?

See you soon!

White Daisy Size:
2 1/2 x 6 3/4 scored at 4 1/4 & 4 3/4
small scrap for stitched circle

B&T:
4 x 2 1/4
2 1/4 x 1 3/4

Pages & Projects: 1 Year Thanks Bags

Hey everyone! My friend Danielle and I are doing a number of things this month, to help challenge each other to be better, and one of the things that we are doing is a series of videos on Thursdays that will be Pages & Projects. We will alternate each week what we do, so you should make sure to come and check out the videos each week! You can find her project here.

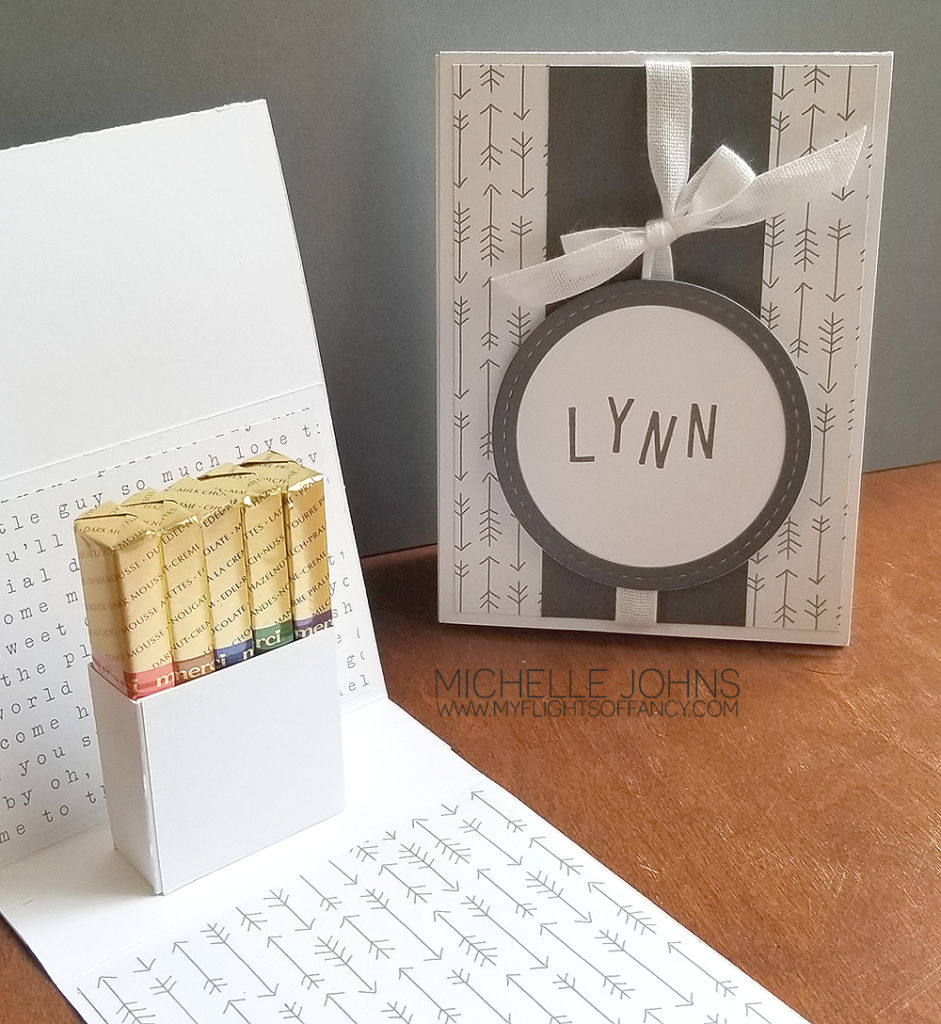
That being said, this week I am starting off with a thank you project for some of the doctors and nurses we had when Audrey was in the hospital last year. This weekend is her One Year anniversary of getting to come home! So, we will be delivering some of these fun little bags on Sunday!


{Can’t see the video in email? Click here to watch!}

I hope you enjoy the video, even my oops, and my fix for it! I left that all in for you, so you can see that EVERYONE does the oops, and generally it is fixable with a bit of thinking!

I would love to know what papers you would use, and who you would give a little bag like this to!

Project sizes:
White Daisy:
4 x 12 scored at 5 1/2 & 11
4 x 10 scored at 5 1/2 & 7
5 1/4 x 4 1/4 scored at 1 3/4 on all sides

B&T Pieces
3 3/4 x 5 1/4 (qty 3)
3 3/4 x 2 3/4

Charcoal Cardstock
2 x 5 1/4

Shaker Thin Cuts:
Largest circle in White Daisy
Stictched Frame in Charcoal

Products used:
Into the Wild paper packet
White Daisy Cardstock
Charcoal Cardstock
Charcoal Ink
Simply Said Stamp Set
Shaker Window Thin Cuts
White Ribbon
Micro Tip Scissors
3-D Foam Tape
Liquid Glass

Tuesday Treats: Gem Box

Hey everyone! It’s time for some more treats!!

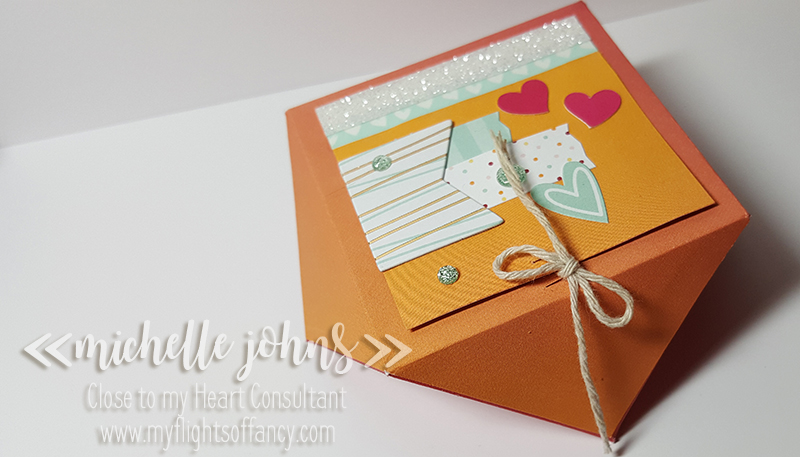
This is a super fun box that I saw a tutorial for, using the Envelope Punch board. Well, I have many, many tools, but that isn’t one of them. Well, I KNOW that I can make that without the punch board, so I did!

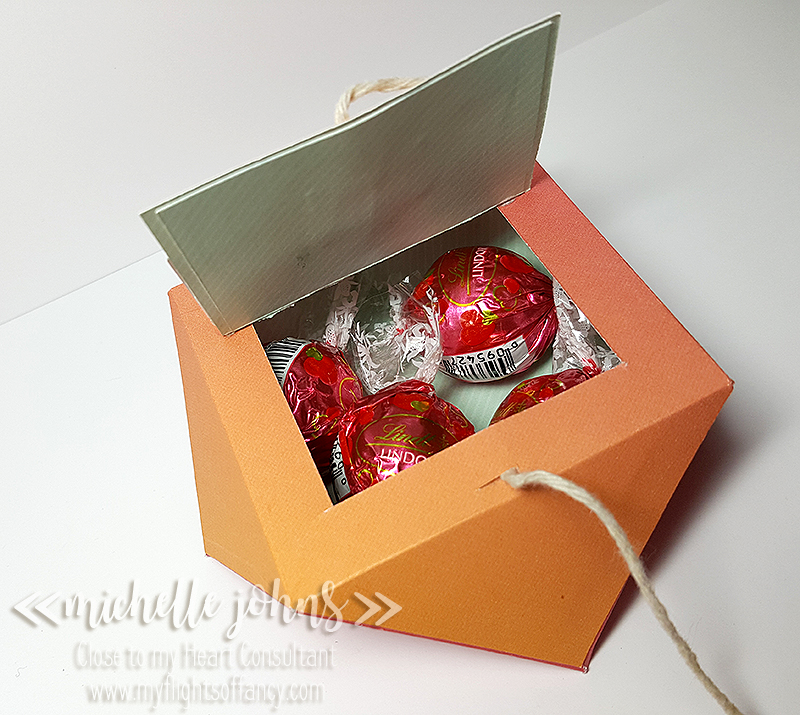
I used one of the sheets from a past paper pack, some embellishments from the Sugar Rush Compliments, a bit of white shimmer trim, some of the heart washi, and some twine that I had laying around. (We have had some severe weather (for us) so I’m trying to drive as little as possible) I had a few hearts from the Raspberry cardstock left from another product, so I added those too, and finished off with some Sugar Rush Dots.

As you can see, this fits 4 Lindor truffles, these are pink (fit the box colors!) and are milk and white chocolate.

This fun little box isn’t going to just sit here, this is going to go to Robyn! I had to cancel my last crop because of weather, and challenged the ladies that were going to come to do something crafty, and share a picture of what they created. For doing so, they would get an extra little something at the next crop. Well, Robyn was the only one that shared her projects, so she gets this fantastic little box!

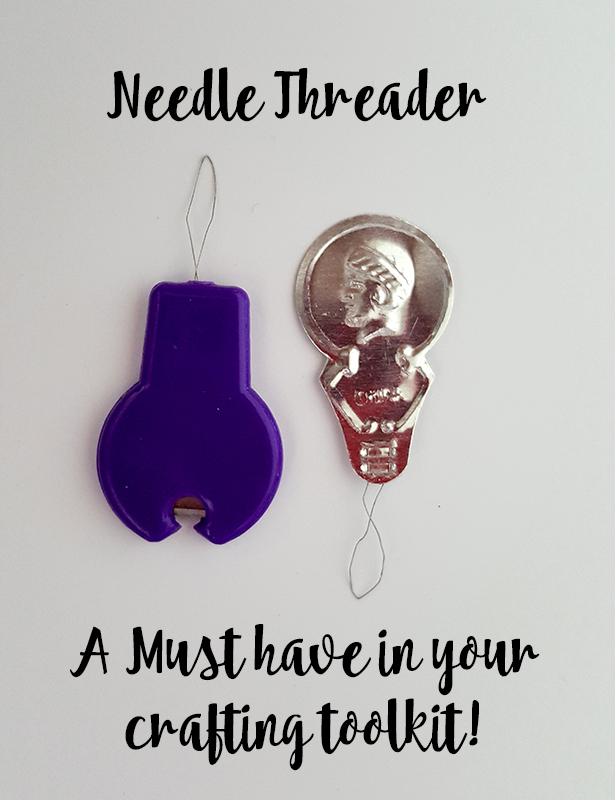
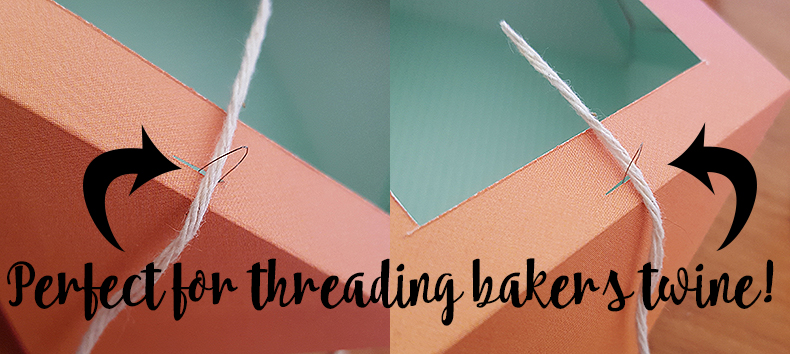
Now, one of the tools that I suggest that you have in your crafter’s tool kit . . . a needle threader!! While, yes you can use it for sewing . . . you can also use it to get your bakers twine or thin ribbons into small holes!

So, the next time you are at the store, grab a package! They are usually less than $2!

I hope you like my little box!

I’ll be back tomorrow with a scrapbook page! Hopefully you will join me!

~Michelle

Chocolate holder, take 1!

So, Tuesdays are going to be Tags, Bags, and Treat Holders! Yesterday I told you I was going to have something for you to be able to gift to friends . . . we all like little gifts! Especially when they are made pretty first!

So, I used another paper from the Rustic Home Fundamentals paper pack. This pack is so fun!

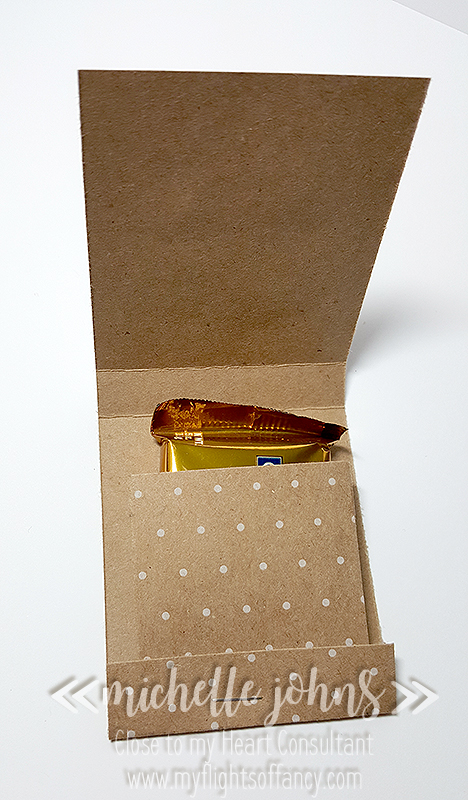
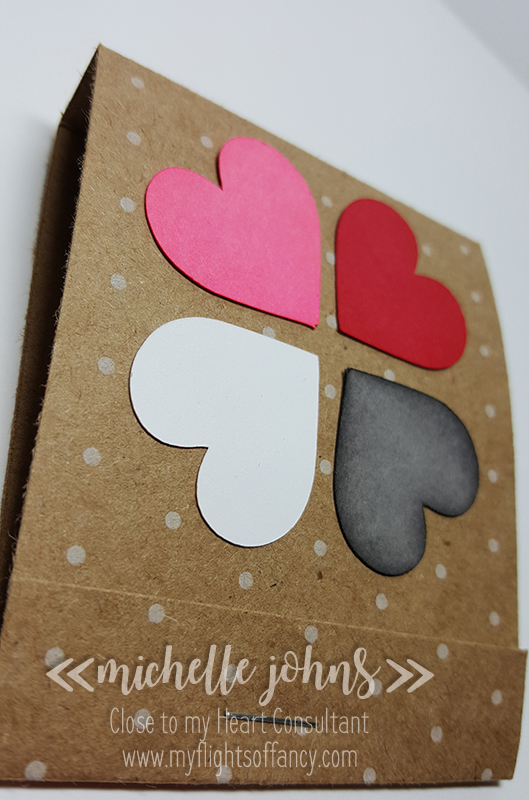
Here you can see it is a matchbook style treat holder. Inside is just one little Ghirardelli square, perfect for a little “I’m thinking about you” treat.

This is such a fun little treat holder!! You could easily make up many of them for valentines or treats for birthdays, or even just because!!

Remember those hearts that I told you I colored yesterday? Well, they came in perfectly today for the front of this little treat holder! They are all cut from White Daisy cardstock, and then colored with the ShinHan Touch Twin markers.

I hope you liked the little holder today! Who would YOU give one to? Join me tomorrow for another fun crafting bit!

Until then, have a fabulously crafty day!

~ Michelle